Tuesday, November 26, 2013

The Cube So Far

Here are a few pictures of the construction of the LED cube.

       Soldering each level of the cube using cardboard to hold the LEDs in the specific layout.

The first two levels soldered together.

Completed cube soldered.

Cube soldered to circuit board.


Thursday, November 21, 2013

First Draft of Solid Models

Draft of acrylic cube solid model, made so that our circuit board snaps in place as the bottom of the cube.  Following this model is a front view of the acrylic cube with the LEDs laid out in the proper shape.  For the LEDS, files for red and yellow LED drawings were found on GrabCad and used.


The following solid models were created for the servo-motion-mechanism. A solid model of a servo was downloaded from  GrabCad . The following are images of a bracket that will hold a servo motor, and the corresponding platform that will hold either another servo or the LED cube.


This is a link to a google drive folder with the solid models.


This is a video of the assembly in motion. There were technical difficulties getting the second motor to produce motion of the top bracket. Solidworks outputted an error message of " Simulation cannot continue" We hope to have this problem solved soon and have a proper assembly motion analysis done.


These are very rough solid models and will need to be furthur refined.

Wednesday, November 20, 2013


Post # 5

Third Team Meeting
11/21/2013
Wednesday 2pm, Perry 311
All team members present

Summary:

The parts that we'll be using are:

                                  2 decent servo motors that have 180 degree turning radius
                                  27 LED light
                                  2 PIC16F690-E/P
                                  1 ATmega328 microcontroller
A code was generated for the two servo control with separate potentiometer:

Thursday, November 14, 2013

Post#4


Post # 4

Third Team Meeting
11/14/2013
Thursday 2pm, Perry 311
All team members present

Summary:
We discuss today in our meeting couple important section in our final project. We did start looking on the detail of the 3X3X3 LED box but taking what we will need to accomplish this task. First, we need to figure out the hardware needed for this part. Second, how we will control the LED with Arduino and how we will setup 27 LED combine controlled with singular Arduino board or multiples boards. the challenges on this part is the limitation of pins  in the  Arduino board.

Parts Required:
  • 1x Arduino Board
  • 27x LED’s
  • 1x Stripboard
  • 3x 22k ohm Resistors
  • 9x 220 ohm Resistors
  • 3x NPN Transistors (for example: 2N2222, BC547, 2N3904)
  • Wire

Schematics:


Arduino code for 3x3x3 LED :


Reference:
http://randomnerdtutorials.com/arduino-led-cube-3x3x3

Thursday, November 7, 2013

Week of November 4 Project Update

Post # 3

Second Team Meeting
11/7/2013
Thursday 2pm, Perry 311
All team members present

Summary:

Building off what was discussed is the first meeting the overall project idea was finalized.
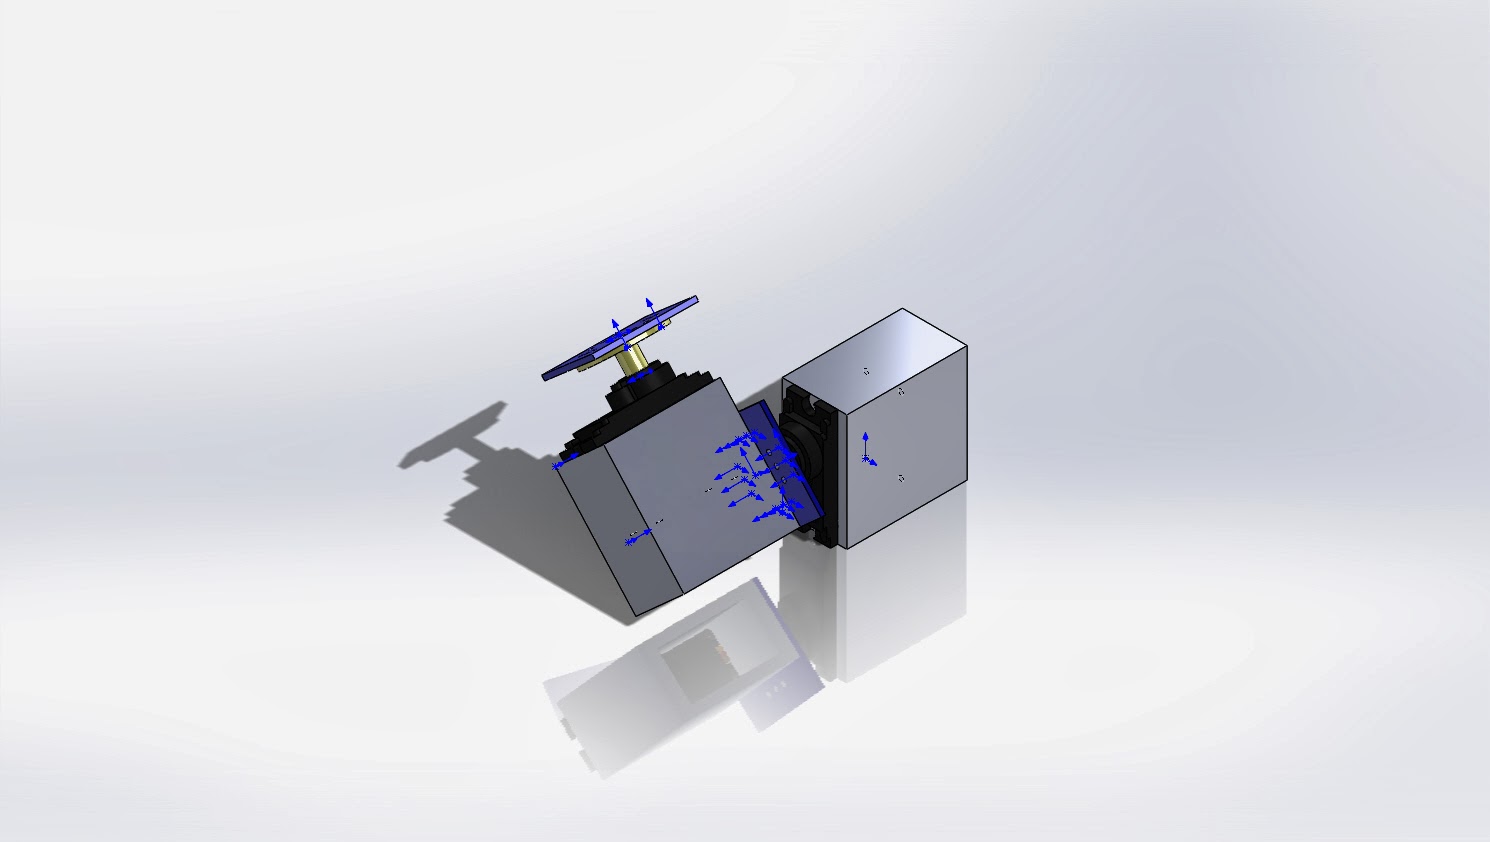
A 3 X 3 LED cube will be mounted on top of a motion mechanism. This mechanism will
consist of two servo motors connected in a vertical configuration, with mounting platforms
in between them. This motion mechanism will be mounted to a base. The input to the LED
cube will be data that is mapped from a microphone. The microphone could also be used to control the servo motors. There will be an option to control the servo motors with two
potentiometers. This option will be activated by a pushbutton.

The following was researchd for the project.

Script to use microphone input
Wiring schematic for microphone input


Going Forward:

Break down of project components:

- Base
    * Material: acrylic or Lego parts
- Motion Mechanism
    * 2 servo motors
    * Platforms/brackets that attach to each servo
    * Write code for servo motor control using either microphone or potentiometer
    * Create the solid models for this mechanism
    * Material: ABS plastic. This part will be 3-D printed
- LED Cube
    * Assembly/ wiring of 3 X 3 LED structure
    * Mounting to motion mechanism
    * Write code for visualizer display
- Sensors/Controls
    * 2 potentiometers
    * 1 microphone (analog input)
    * 1 pushbutton
    * Write code for pushbutton option and organize layout.


All team members contributed equally.
Total hours for this week per individual: 3.5 hours

Tuesday, November 5, 2013

Post #2

First Team Meeting:
11/5/13
Tuesday 2pm, Perry 311
All team members present

Summary:

Discussion and brainstorming continued of project ideas. The idea of a music visualizer was chosen as a key part of the overall design. A microphone will be used as the input sensor to control a LED array and possibly motor speed. A solid model will be 3D printed and controlled by a motor to provide further visual entertainment.

The following two YouTube videos were used as starting points in brainstorming. The idea of a 3D LED cube seemed very appealing while the pen movement mechanism provided a practical solution to the project requirement of having motion options.


The following image is a rough schematic of the project idea.


For next meeting come up with potential ideas for solid model to be controlled by motor.


Post#1:

11/05/2013                                                                                       Perry 311

Team member:

Samir Meskinaoui
Jennifer Droke
Matthew Popelka


Meeting schedule :


Time


Place


Tuesday at 2 PM


Perry 311


Thursday at 2 PM


Perry 311


Summary:
During lab section on Tuesday 5, 2013:
1.       Filled out a team contract and submited it to instructor.
2.       Chose specific meeting times each week.
3.       Designated a name and created a blog for the project.