Description of Final Assembly
The completed project is just as described before. We have a 3X3X3 LED cube wired into a PCB with an acrylic casing covering the whole assembly. This cube then sits on top of a motion mechanism. This mechanism consists of one small servo motor mounted on top of a bigger servo. Using the 3D printer parts were fabricated for this mechanism. Manufactured parts included two servo casings, a bracket, and a platform. In addition to these printed part there were five sides to the LED cube that were laser cut out of acrylic. As for inputs into the whole system there were two potentiometers and one microphone. Each of the potentiometers controlled on of the servo motors. The microphone was used to control the LED cube. Sounds that the microphone picked up triggered a certain pattern based on the volume.
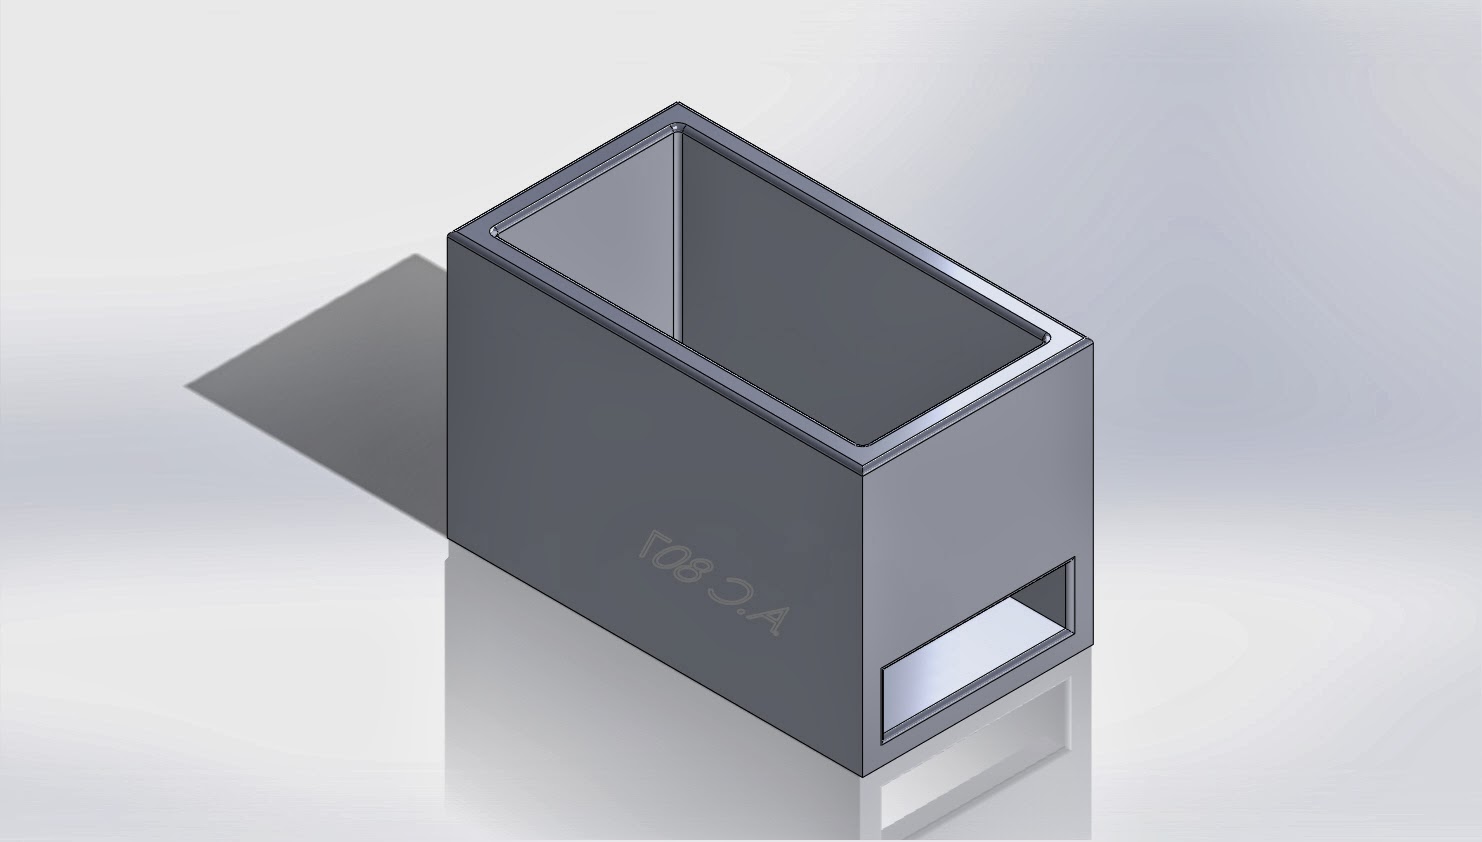
Overall the project did what we set out to do. LED lights were controlled by a microphone, with motion provided by the servos.During transportation to the showcase the 'platform' part broke and was unable to be fitted back to the small servo. Because of this we couldn't fully test the motion of the cube. The following is a picture of the completed assembly:

Below are the final versions of the code used. One for LED control the other for servo control
Improvements
With this being the first design iteration there are many improvements that could be made. The following is a list of things that could be better developed.
With this being the first design iteration there are many improvements that could be made. The following is a list of things that could be better developed.
- Write in a break statement into the LED pattern code so every time the value of the microphone changes the code breaks out of its current pattern and starts a new one. This will give a more responsive LED cube.
- Code the microphone to read the music being played not only the volume. The microphone would read the music frequency band spectrum. This way the LED cube could react to the type of music being played. Things like tempo and pitch would be a factor in LED display.
- Upgrade the second level small servo to a bigger one to provide more motion.
- Refine the whole motion mechanism. Currently it is very primitive with just the servos stacked on top of one another. Create better solid models that fit together. The thickness of the extrude needs to be increased to be stronger on the 'platform' 3D printed part.
- Write code for the microphone so it calibrates itself upon start up. This would calibrate it with the surrounding environment. Within the first 5 seconds the microphone would take the lowest and highest values and used those as threshold values to run the LED patterns.
- Better assembly of the LED cube. Use longer more flexible wires; use a coupling to organize all the wires underneath the cube. Have holes in the acrylic cube for the wires.
- Replace all the red and yellow LEDs with RGB LEDs for a more colorful performance.
- Map microphone data to control both servos. This would give a completely self-sufficient system, instead of having user input control.
Jennifer Droke:
- Design of acrylic cube casing. Created SolidWorks models for a visual of the final assembly, as well as for having the part made.
- Designed wiring layout for LED cube based on tutorial http://randomnerdtutorials.com/arduino-led-cube-3x3x3/
- Assembled, soldered, and tested LED Cube
- Assembled acrylic casing from cut parts
- Soldered wiring on PCB
- Purchased the proper transistors, resistors, jumper wires, PCB, and microphone for the cube, as well as materials for the project board and the potentiometers for the servo motors
- Assembled final prototype for presentation
- Created tri-fold project board and researched/typed information for presentation
- Wrote about four blog posts, contributed to one other. Made multiple pictures and videos for blog.
- Estimation of total hours worked: 35 hours
My thoughts: Our group worked together very well, and we all contributed equally. Every meeting, we were all deep in work and maintained open communication. If anyone missed a meeting, the work was quickly and easily made up with all the hours put in at home. It was great working with two exceptional team members who worked to make our final prototype work just as we wanted it to in our original idea.
Matthew Popelka:
- Design of the motion mechanism using the servos. Created all necessary solid models on SolidWorks.Converted to STL file type and checked part material. Then redesigned accordingly to reduce material cost and manufacturing time.
- Purchased bigger servo to ensure smooth motion of LED cube.
- Modified/integrated the microphone code with the LED control code. Debugged code so patterns would display with correct threshold levels.
- Wrote about 6 blog spots
- Edited/finished final report
- Estimation of total hours worked: 35 hours
My thoughts: I believe everyone contributed fairly and pulled their own weight, we worked well as team. During the team meetings we were all researching, wiring circuits, and discussing. I will say that Jen had the harder task of soldering, wiring, and assembling the LED cube and should be credited accordingly.
Samir Meskinaoui:
- Wrote and modified code for the two servo. Harness Arduino component like the potentiometer to control the motion of two servos.
- Estimation of total hours worked: 35 hours
- Edited/started final report.
- Wrote about 3 blog spots.
- Search for Arduino codes for the both the servos and microphone and checking all circuits.
My thoughts: I have worked in many groups in my college career. For the first time, I felt like the group was fair and everyone pulled their weight equally. We all enjoyed creating and learning the new material. Jenn did an excellent job of assembling the LEDs.